Step-by-Step Java CI/CD Pipeline Setup Using Jenkins, Maven, and Docker

Hi there! I'm Dinesh, a passionate Cloud and DevOps enthusiast. I love to dive into the latest new technologies and sharing my journey through blog.
Prerequisites :
- Choose a Linux distribution (e.g., Ubuntu 22.04 LTS) for your EC2 instances.

- Need two EC2 instances (one for Jenkins and Maven, and the other for Docker).

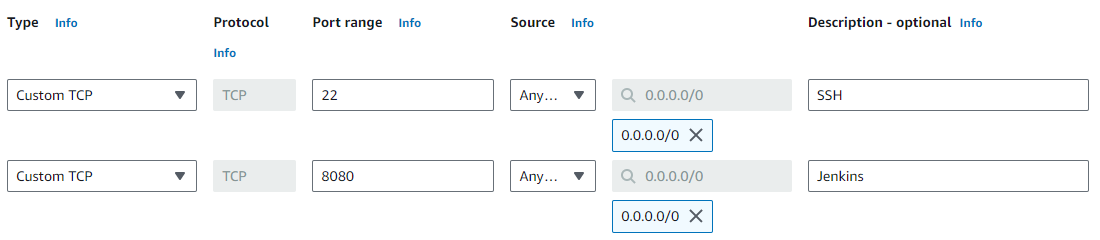
- Security Group Configuration : SSH: Port 22, Jenkins: Port 8080
SSH Key Pair
GitHub Repository
Agenda :
1 : Install Jenkins
2 : Install plugins
3 : Download and Install Maven
4 : Generate SSH key pairs in the Jenkins machine
5 : Configure the authorised key in the slave machine
6 : Configure node in Jenkins
7 : Install Docker
8 : Configure tools in Jenkins
9 : Create Jenkins file and Docker file in the Github repository
10 : Create a CI/CD pipeline
11 : Check the Docker Container Status
12 : Check & Access the Application URL
Step 1 : Install Jenkins
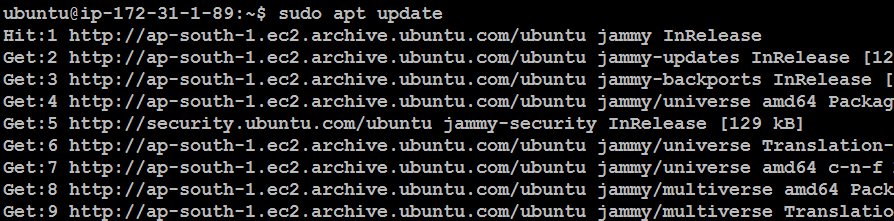
Update the System package
sudo apt update
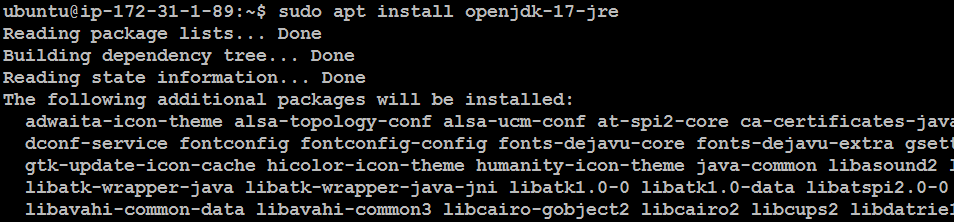
Install OpenJDK 17
sudo apt install openjdk-17-jre
Verify the installation by checking the Java version
java -version

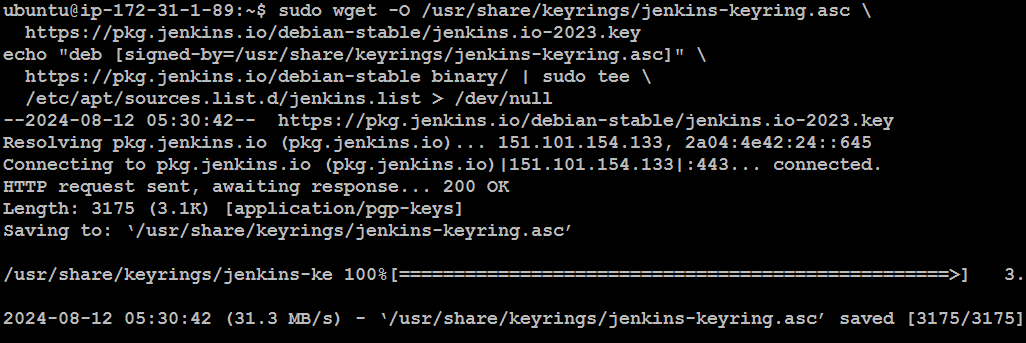
Add Jenkins Repository
sudo wget -O /usr/share/keyrings/jenkins-keyring.asc \
  https://pkg.jenkins.io/debian-stable/jenkins.io-2023.key
echo "deb [signed-by=/usr/share/keyrings/jenkins-keyring.asc]" \
  https://pkg.jenkins.io/debian-stable binary/ | sudo tee \
  /etc/apt/sources.list.d/jenkins.list > /dev/null
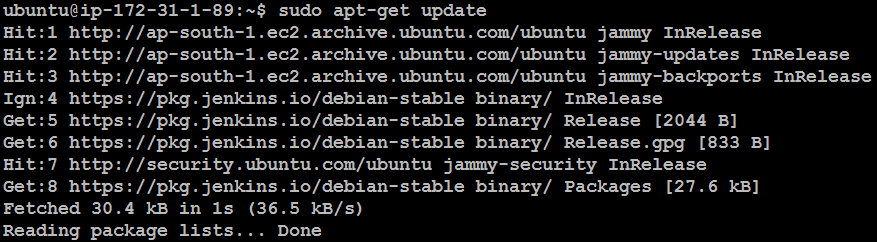
Update the package list again
sudo apt-get update
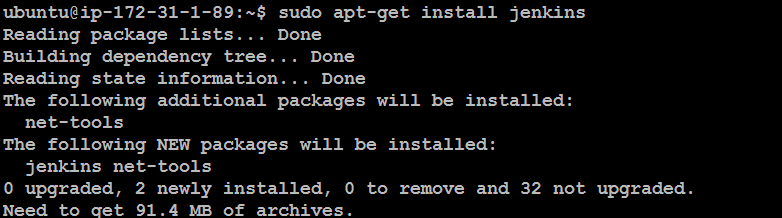
Install the Jenkins
sudo apt-get install jenkins
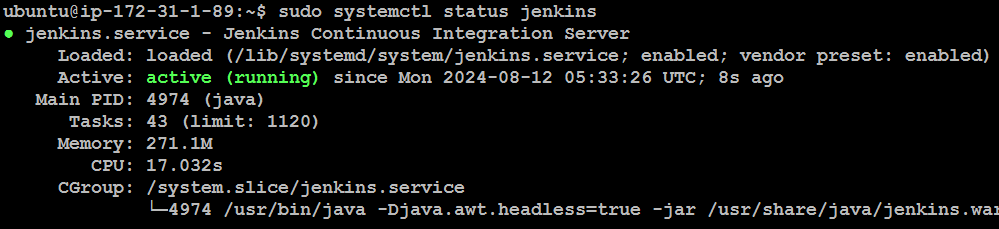
Check the Jenkins status
sudo systemctl status jenkins
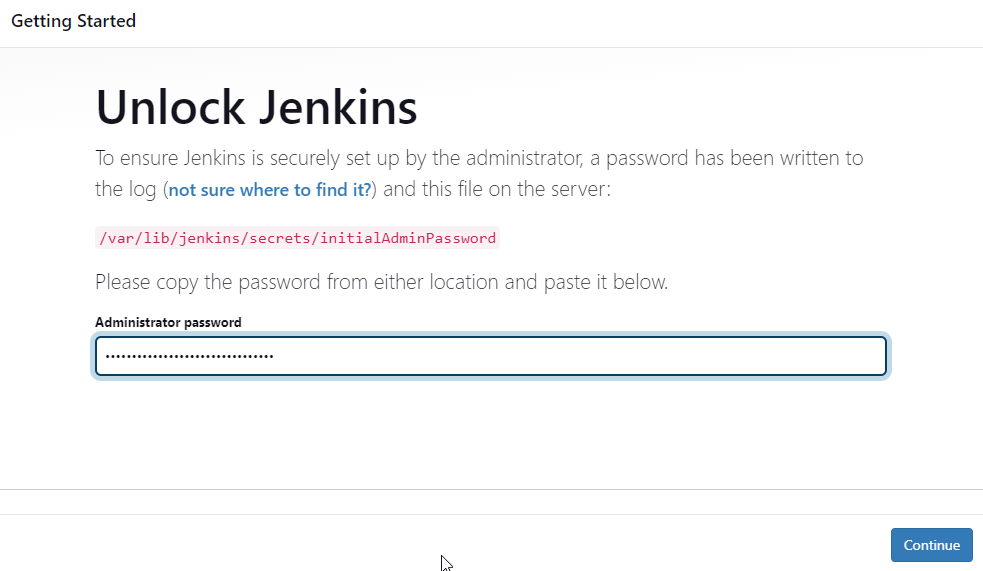
Access Jenkins Web Interface
http://<ip address>:8080
Open the terminal and running the following command, will get get the jenkins password
cat /var/lib/jenkins/secrets/initialAdminPassword

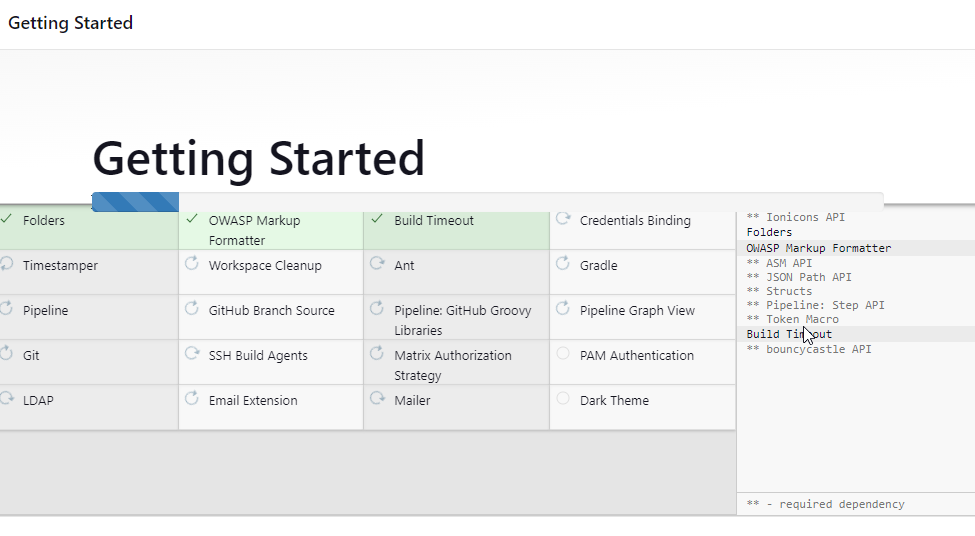
Install suggested plugins or Select plugins to install
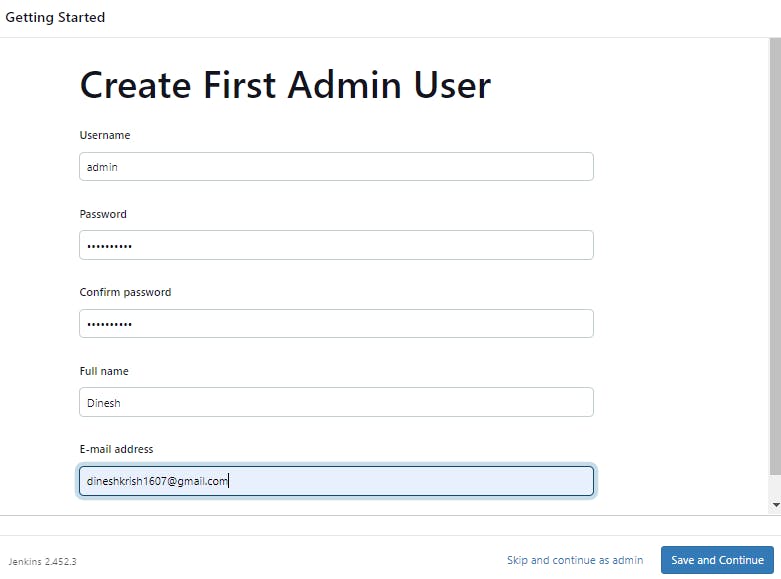
Create admin user name & password
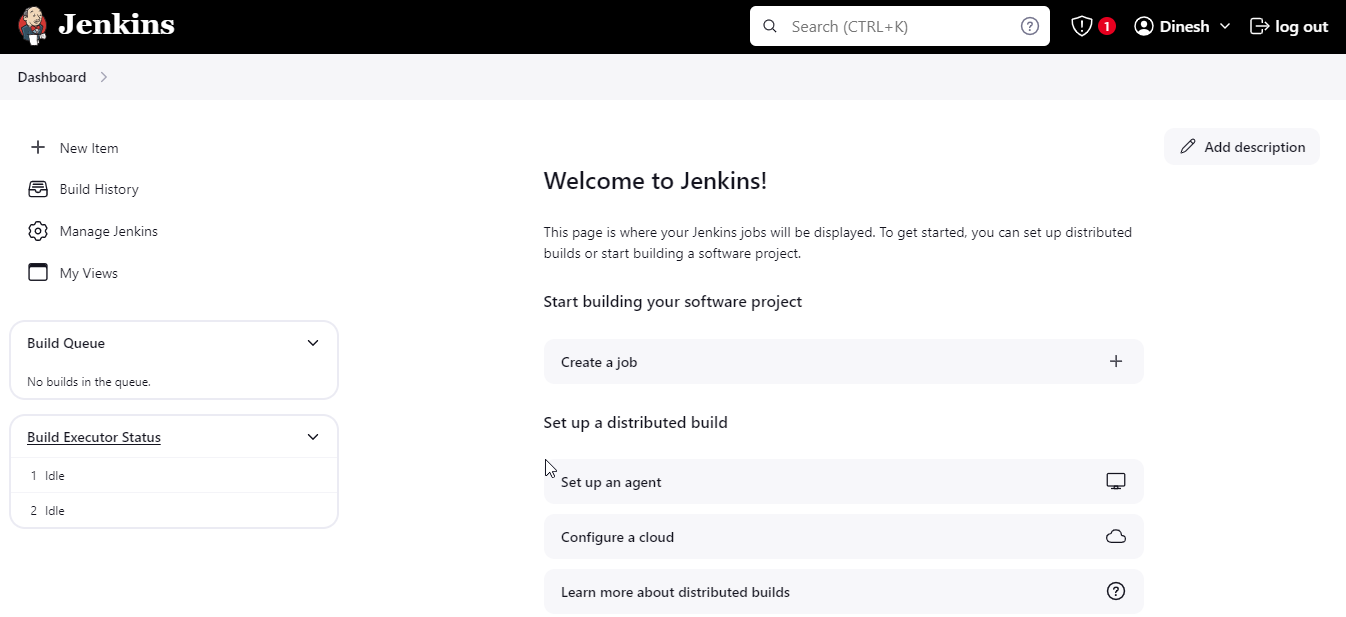
Now, Successfully installed Jenkins
Step 2 : Install plugins
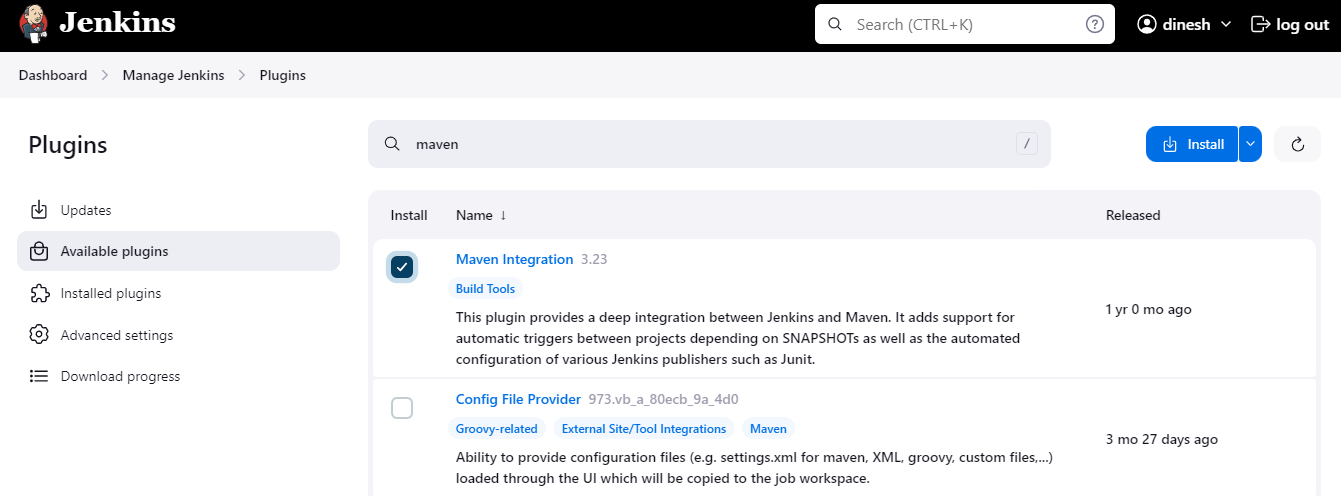
Click on Manage Jenkins > Click on Plugins > Click on Available plugins
In the search bar, type maven >Select Maven Integration plugin > Click on Install
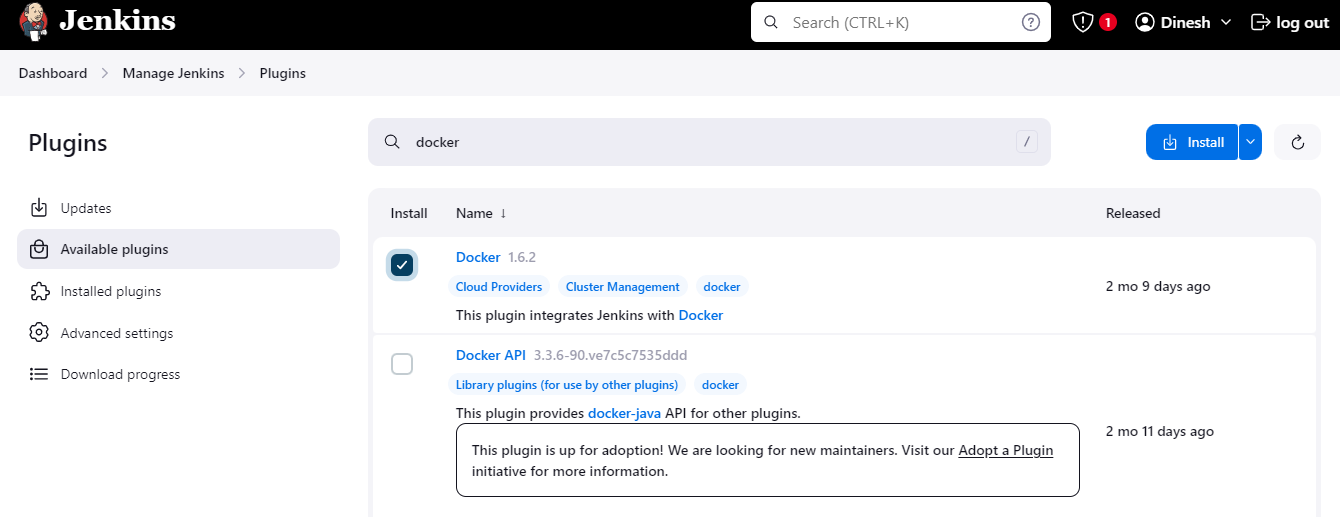
In the search bar, type Docker >Select Docker plugin > Click on Install
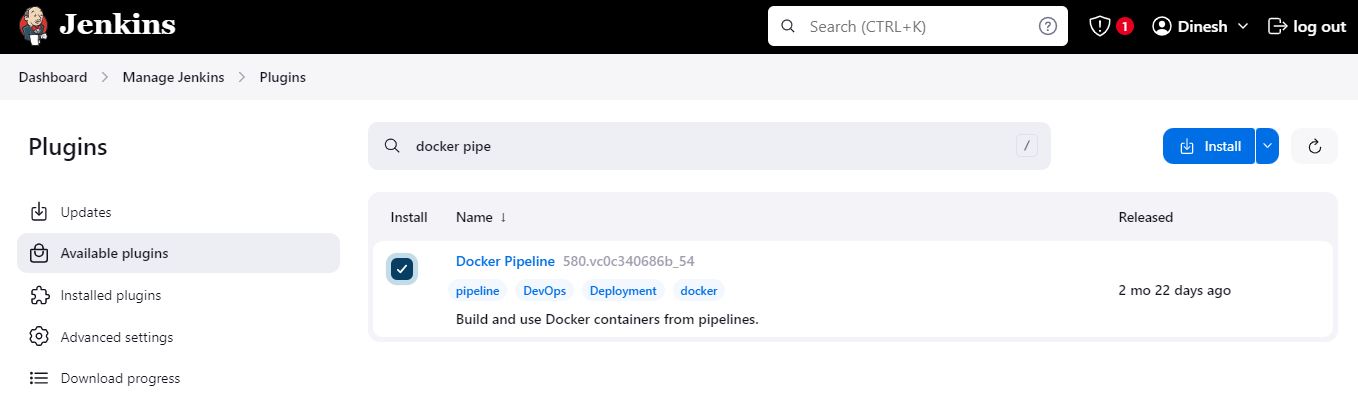
In the search bar, type Docker Pipeline >Select Docker Pipeline plugin > Click on Install
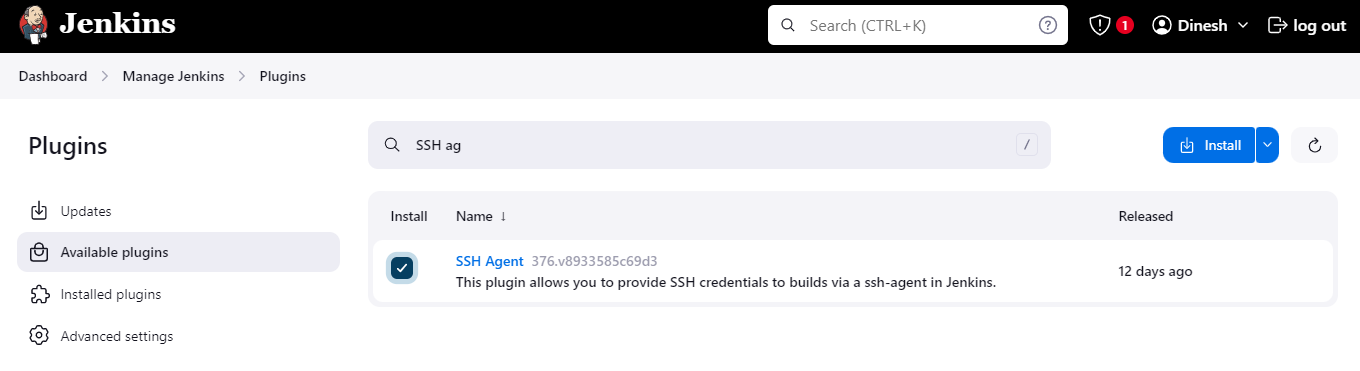
In the search bar, type SSH >Select SSH Agent plugin > Click on Install
Step 3 : Download and Install Maven
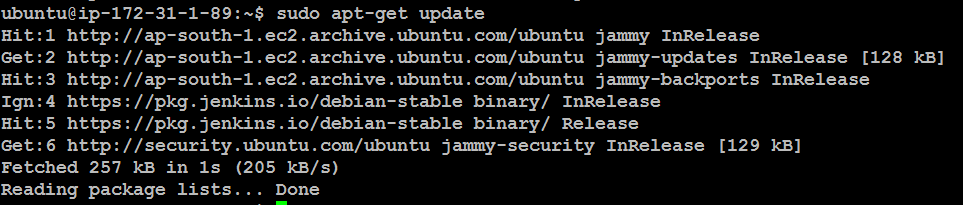
Update the system package
sudo apt-get update
Download the Maven installation file to the /tmp directory using the wget
wget https://dlcdn.apache.org/maven/maven-3/3.9.8/binaries/apache-maven-3.9.8-bin.tar.gz -P /tmp

Once the download is complete, extract the installation file to the /opt directory:
sudo tar xf /tmp/apache-maven-3.9.8-bin.tar.gz -C /opt

Create a symbolic link leading to the Maven installation directory:
sudo ln -s /opt/apache-maven-3.9.8 /opt/maven

Set Up Environment Variables
Create and open the maven.sh script file in the /etc/profile.d/ directory:
sudo nano /etc/profile.d/maven.sh
Add the following lines to the maven.sh file:
export JAVA_HOME=/usr/lib/jvm/java-17-openjdk-amd64
export M2_HOME=/opt/maven
export MAVEN_HOME=/opt/maven
export PATH=${M2_HOME}/bin:${JAVA_HOME}/bin:${PATH}

Use the chmod command to make the maven.sh file executable:
sudo chmod +x /etc/profile.d/maven.sh

Execute the maven.sh script file with the source command to set up the new environment variables:
source /etc/profile.d/maven.sh

Verify Maven Installation
mvn -version

Step 4 : Generate SSH key pairs in the Jenkins machine
Generate SSH key pairs on Jenkins machine
ssh-keygen -t rsa
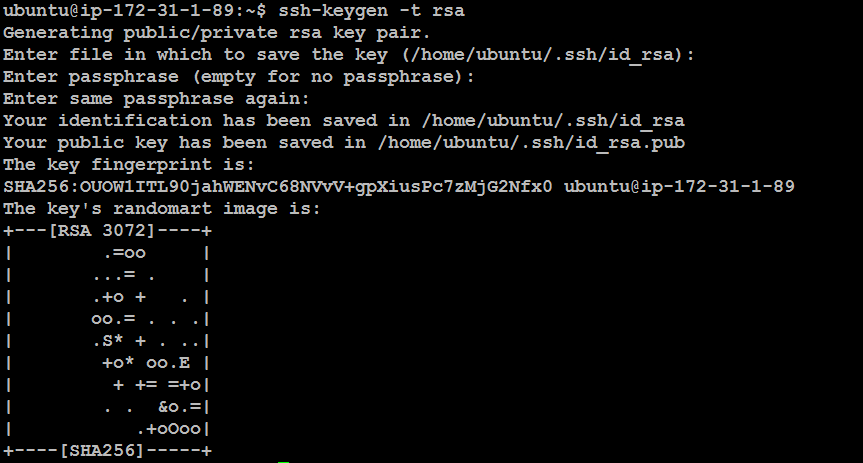
Go to SSH path & Check Keypair
cd .ssh/
ls -lrt

Step 5 : Configure the authorised key in the slave machine
Go to Docker machine
Install OpenJDK 17
sudo apt install openjdk-17-jre
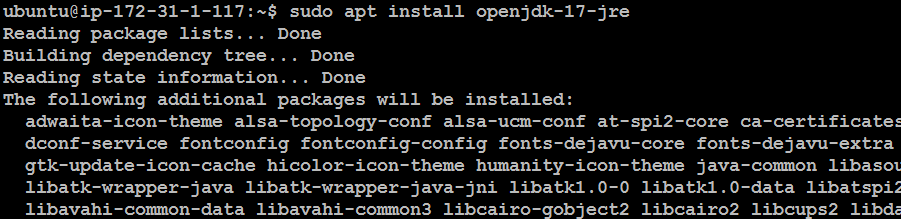
Check & Verify the java
java -version

Go to Master machine, Copy the public key id_rsa.pub
cat id_rsa.pub

Paste that public key in the slave machine authorized keys

Step 6 : Configure node in Jenkins
Go to Manage Jenkins > Click on Nodes
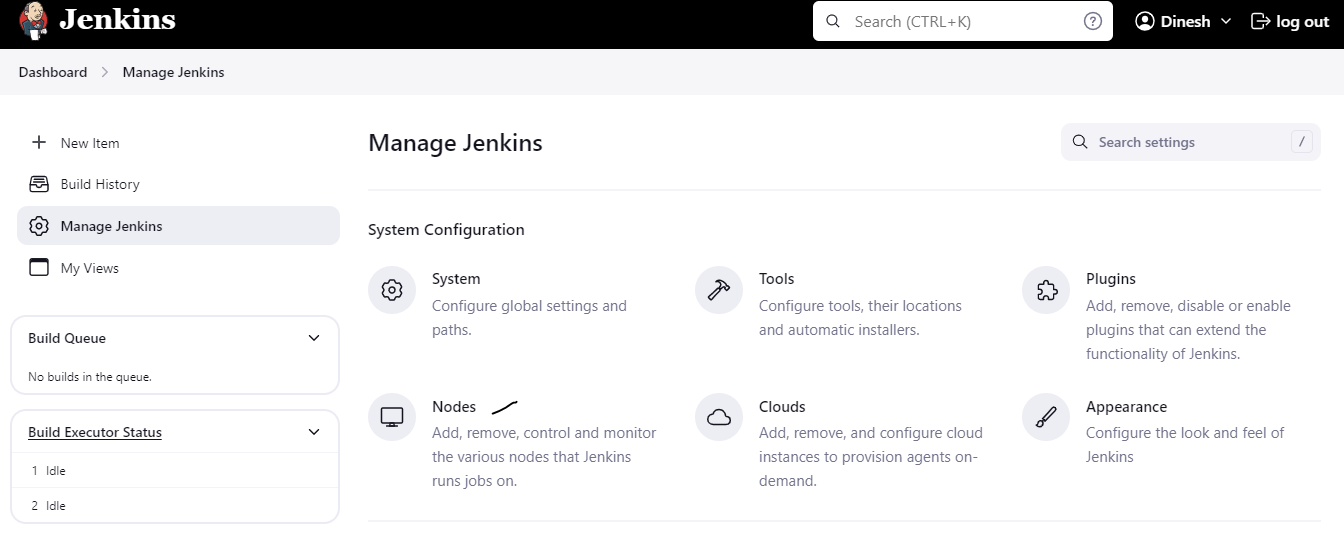
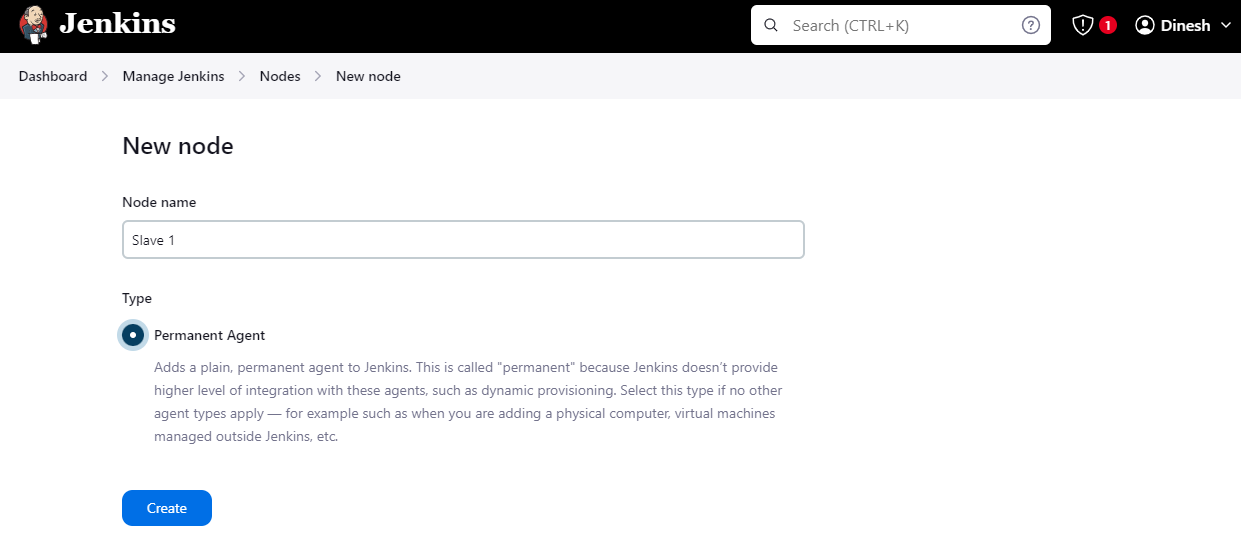
Click on New Node
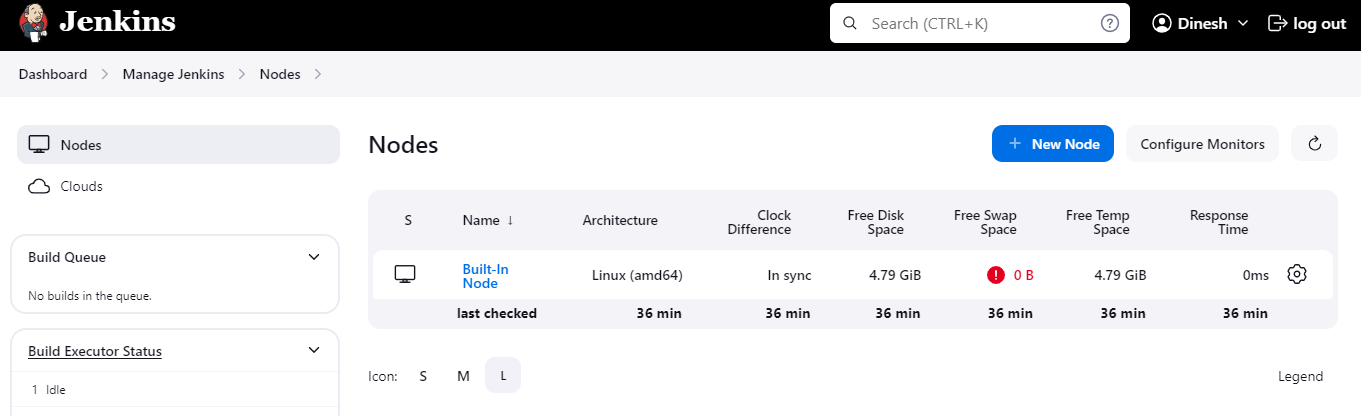
Node Name: Slave 1 > Select Permanent Agent > Click on Create
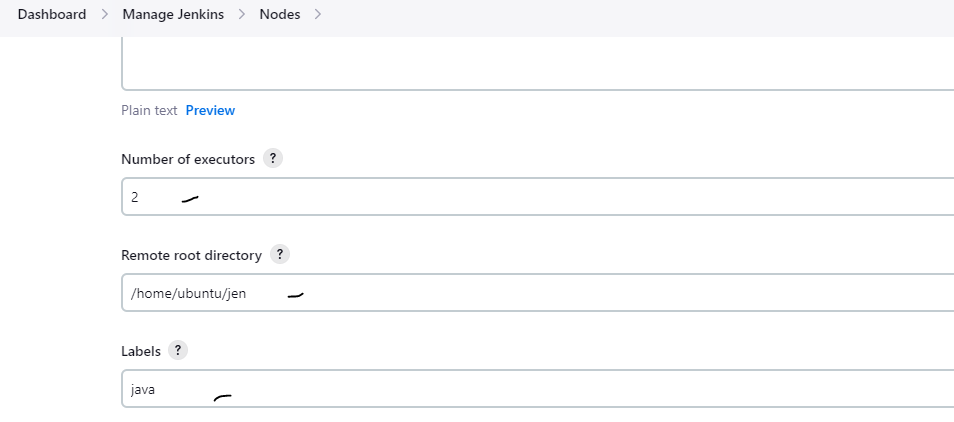
Number of executors : 2
Remote root directory : The directory where Jenkins will run jobs on the agent (e.g., /home/ubuntu/jen )
Labels : Tags that can be used to assign jobs to this node. java
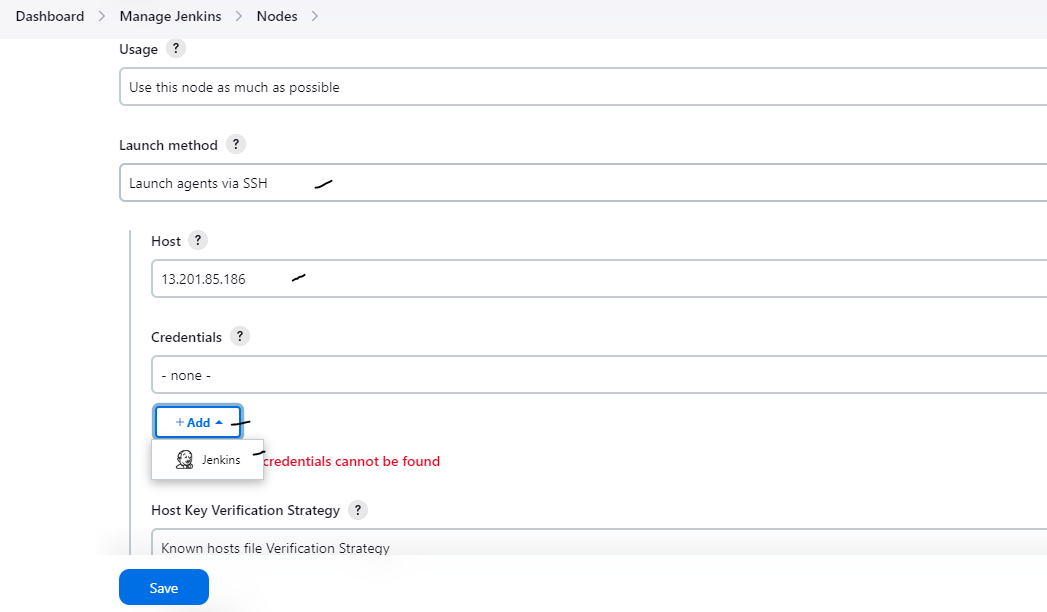
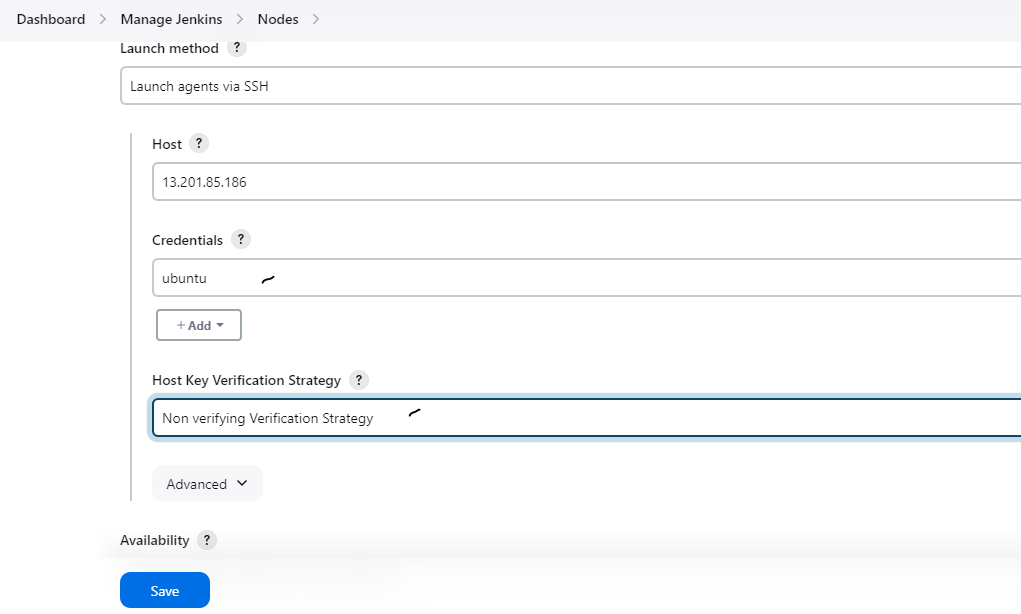
Launch Method : Select Launch agents via SSH
Host : Enter the IP address of the agent 13.201.85.186
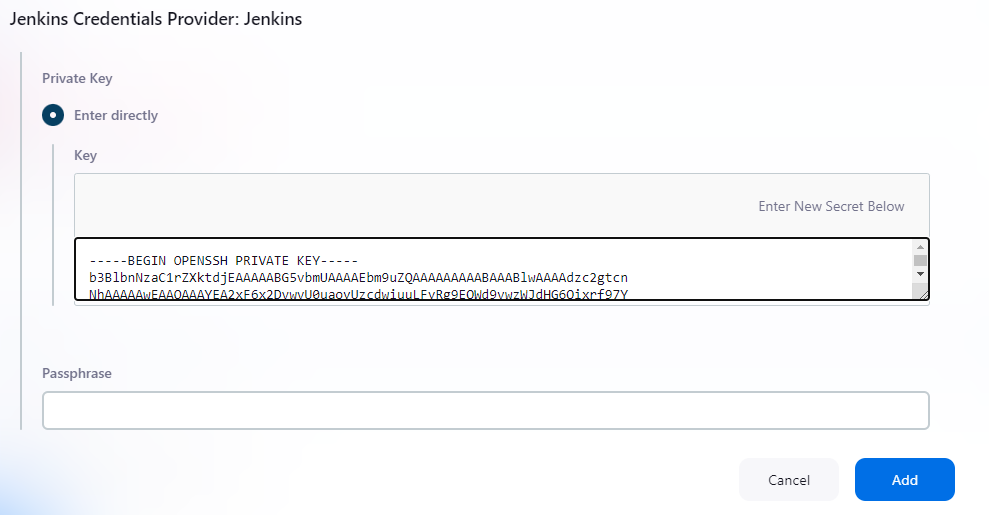
Credentials : Add Jenkins .
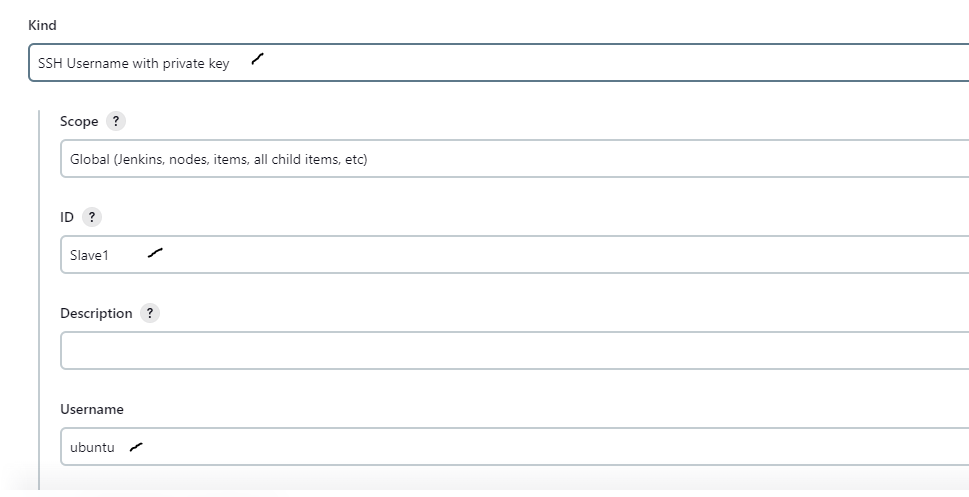
Kind : Select SSH Username with private key
ID : Enter any name Slave1, Note : This id need to use Jenkinsfile
Username : Enter the slave machine username ubuntu
Private key : Copy the private key from master machine & paste it
Click on Add
Now, Select credentials : ubuntu
Host Key Verification Strategy : Select the Non verifying Verification Strategy
Click on Save
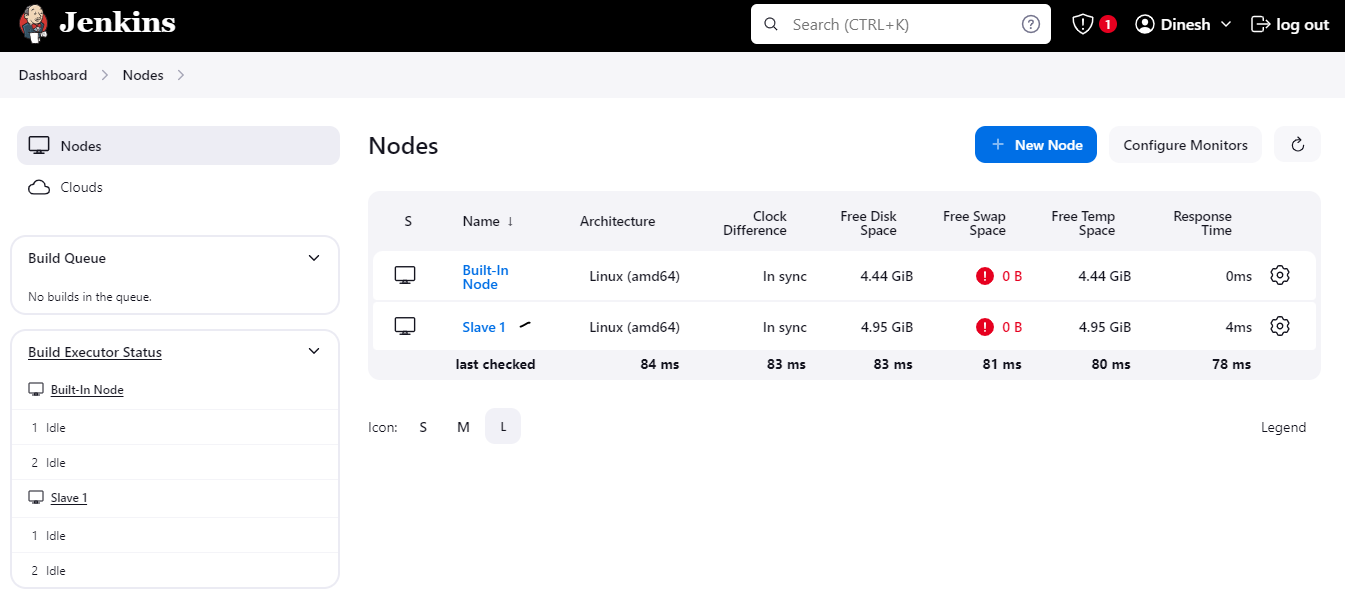
Now, Check the Nodes page : Slave machine successfully added
Step 7 : Install Docker
Go to 2nd instance
Update the system package
sudo apt-get update

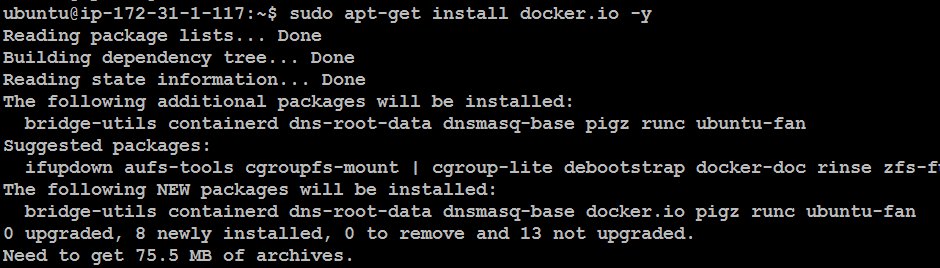
Install the docker
sudo apt-get install docker.io -y
Start and enable the docker
sudo systemctl start docker
sudo systemctl enable docker

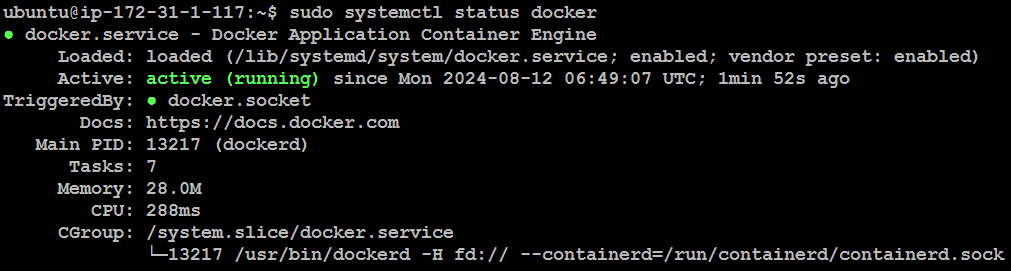
Check the docker status
sudo systemctl status docker
Step 8 : Configure tools in Jenkins
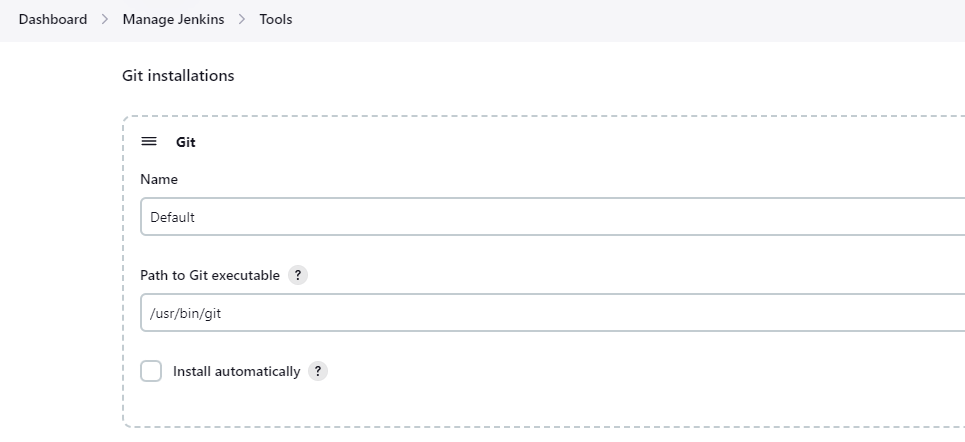
Go to Manage Jenkins > Go to Git installations
Name : Default
Path to Git executable : Enter git path /usr/bin/git > Scroll down
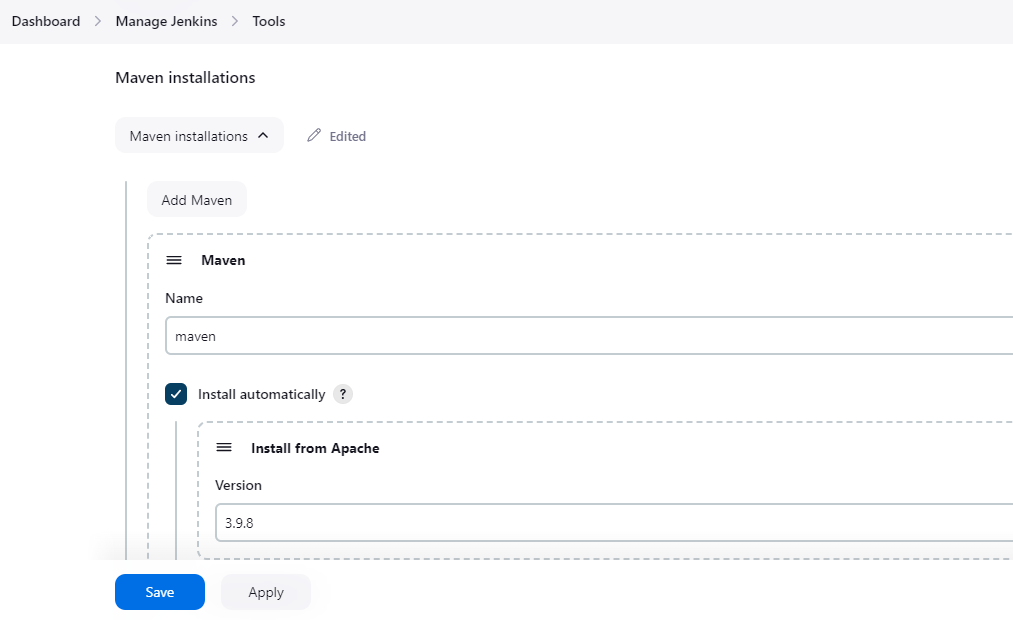
Go to Maven installations
Name : maven > Click on Install automatically > Scroll down
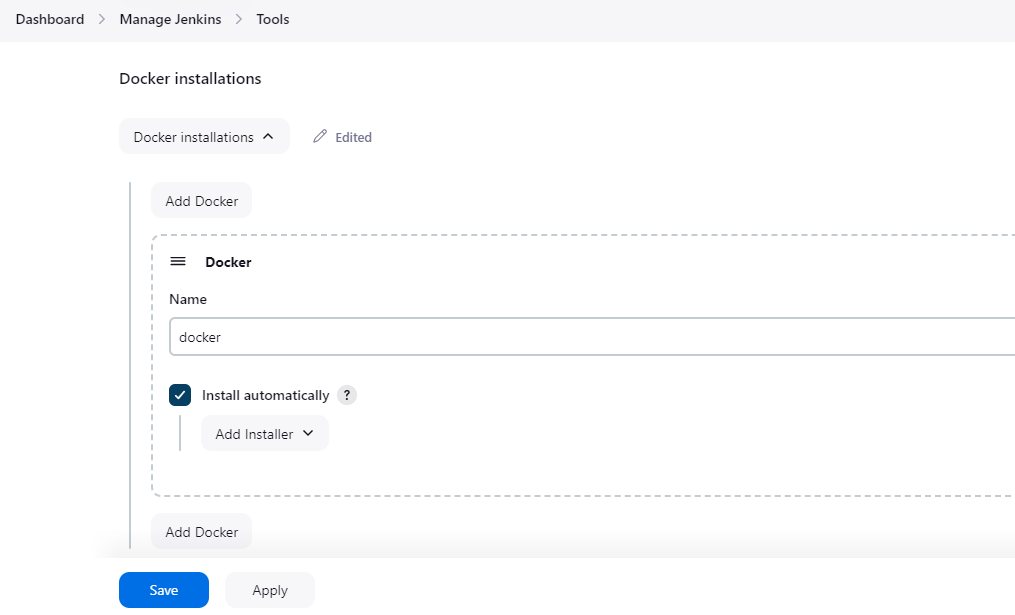
Go to Docker installations
Name : docker > Click on Install automatically > Click on Save
Step 9 : Create Jenkinsfile & Dockerfile ih Github repository
I have created java_deploy repository in my Github account & I have stored sample Java web application project in same repository.
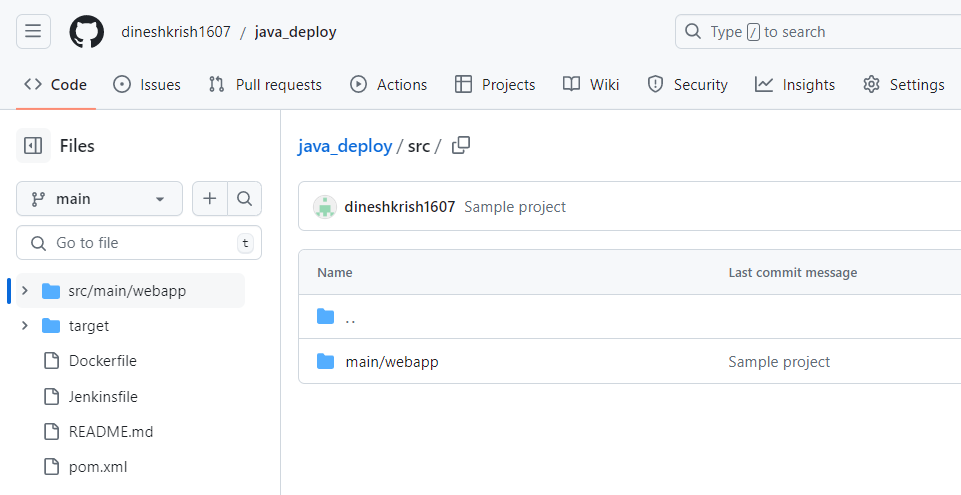
Create a docker file in github repository, The name should be Dockerfile & Add the below content
# Use an official Tomcat runtime as a parent image
FROM tomcat:9.0.65-jdk11-openjdk

# Copy the WAR file to the webapps directory of Tomcat
COPY target/webapp-tom.war /usr/local/tomcat/webapps/

# Expose port 8080
EXPOSE 8080

# Run Tomcat
CMD ["catalina.sh", "run"]
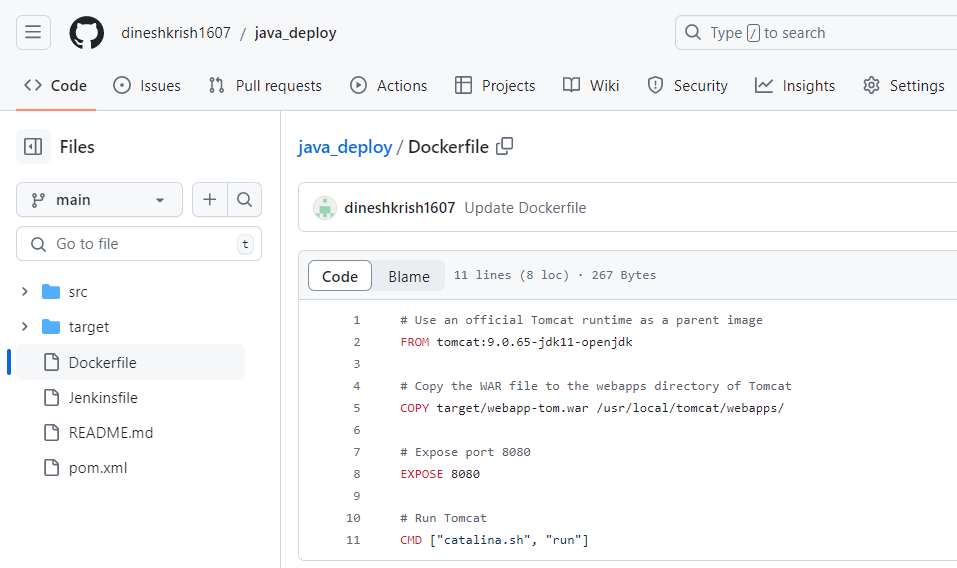
Create a jenkins file in github repository, The name should be Jenkinsfile & Add the below content
pipeline {
    agent any

    environment {
        REMOTE_SSH_CREDENTIALS_ID = 'Slave1'
        REMOTE_HOST = '13.201.85.186'
        DOCKER_IMAGE = 'my-app:latest'
    }

    stages {
        stage('Checkout') {
            steps {
                echo 'Checking out code from GitHub...'
                git url: 'https://github.com/dineshkrish1607/java_deploy.git', branch: 'main'
            }
        }

        stage('Build') {
            steps {
                echo 'Building the project with Maven inside Docker...'
                script {
                    docker.image('maven:3.8.3-openjdk-17').inside {
                        sh 'mvn clean package'
                    }
                }
            }
        }

        stage('Build Docker Image') {
            steps {
                echo 'Building Docker image...'
                script {
                    docker.build(env.DOCKER_IMAGE)
                }
            }
        }

        stage('Deploy to Remote Server') {
            steps {
                echo 'Deploying Docker container to remote server...'
                sshagent([env.REMOTE_SSH_CREDENTIALS_ID]) {
                    sh """
                    ssh -o StrictHostKeyChecking=no ubuntu@${REMOTE_HOST} '
                        docker run -d -p 8080:8080 ${env.DOCKER_IMAGE}
                    '
                    """
                }
            }
        }
    }

    post {
        always {
            echo 'Pipeline completed'
        }
    }
}
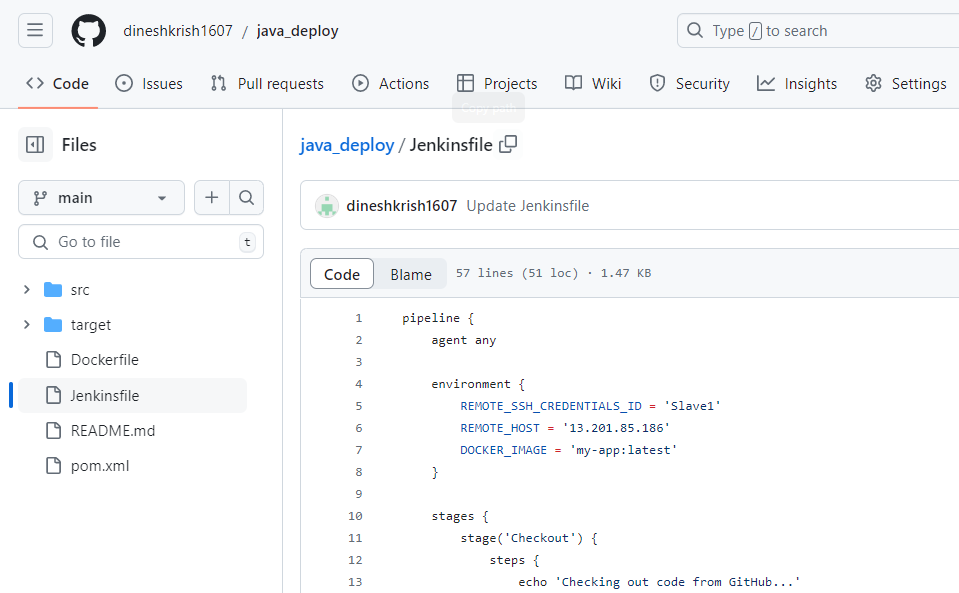
Now, I have successfully added Java project, Jenkins file and Docker file in my github repository.
Step 10 : Create CI/CD pipeline
Go to jenkins dashboard > Click on New Item
Enter name for pipeline : Java Deploy > Select Pipeline > Click OK
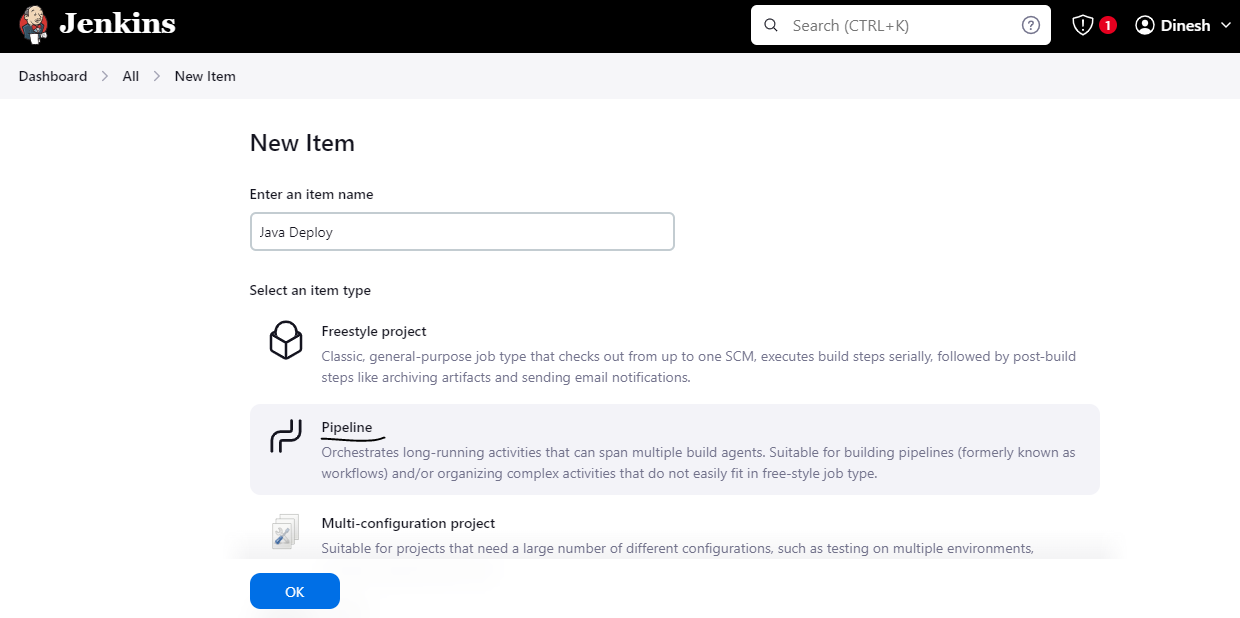
Scroll down to the Pipeline section
Set the Definition to Pipeline script from SCM > Select Git as the SCM
Enter your repository URL
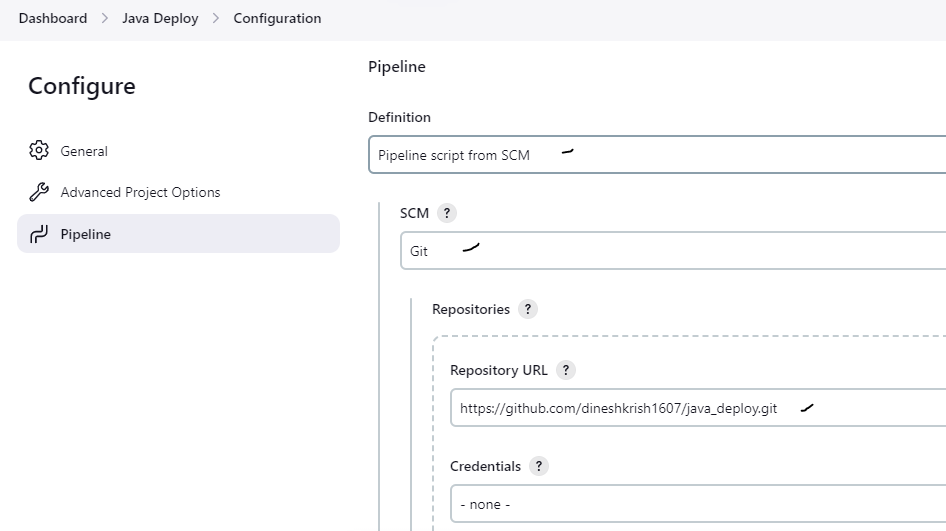
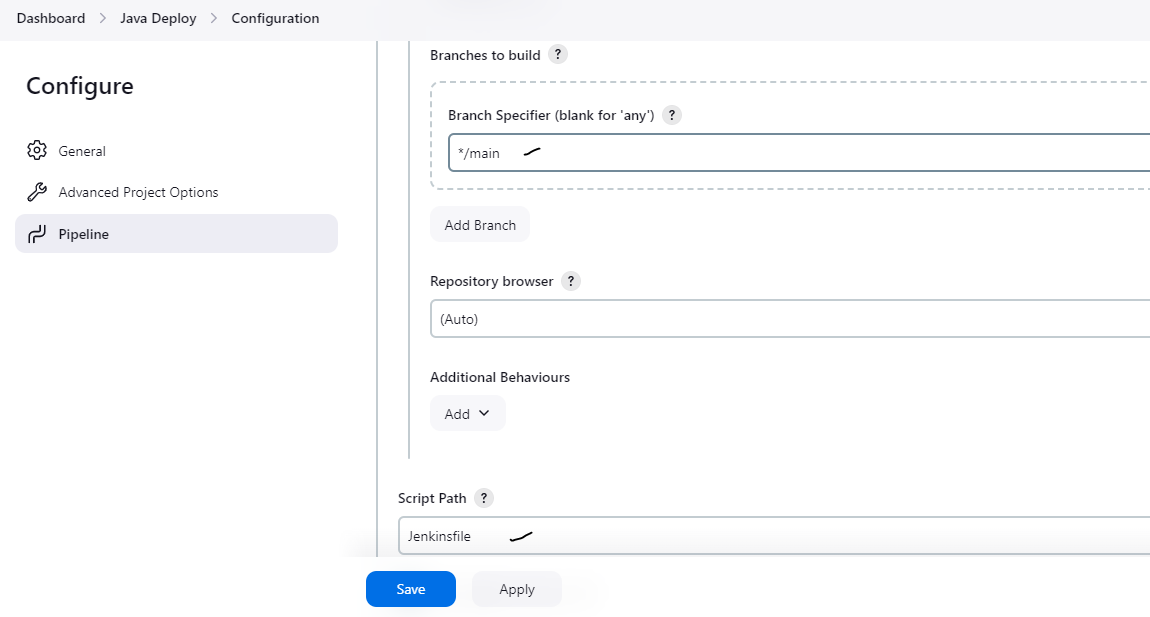
Specify the branch main > In Script path, enter the name Jenkinsfile
Click Save
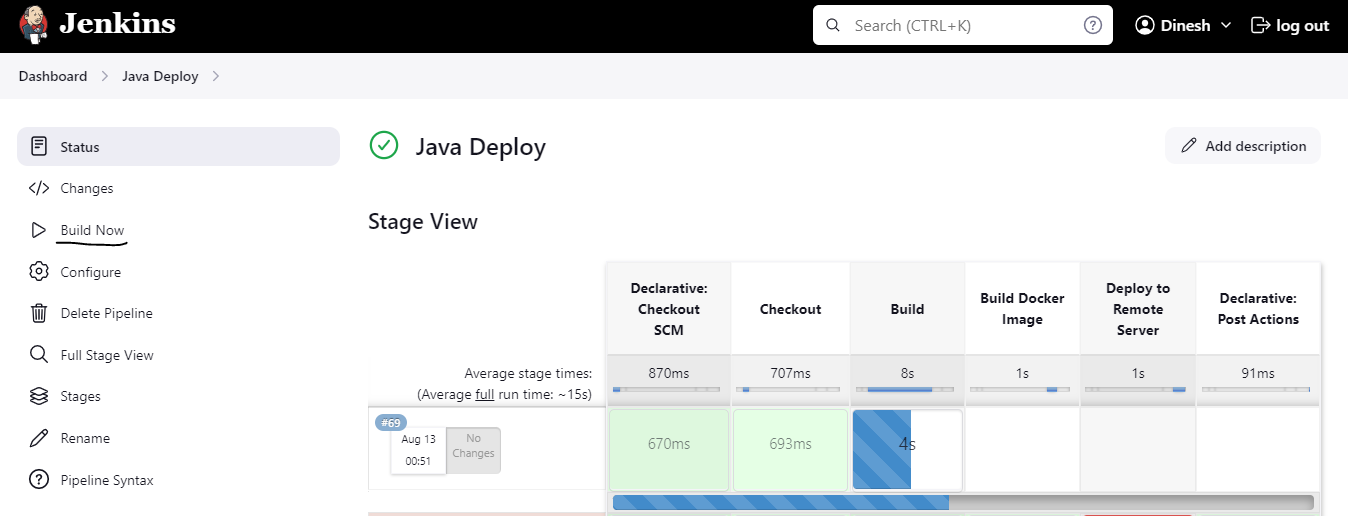
In the Jenkins dashboard, navigate pipeline job Java Deploy
Click Build Now to trigger the pipeline > You can monitor the progress of pipeline
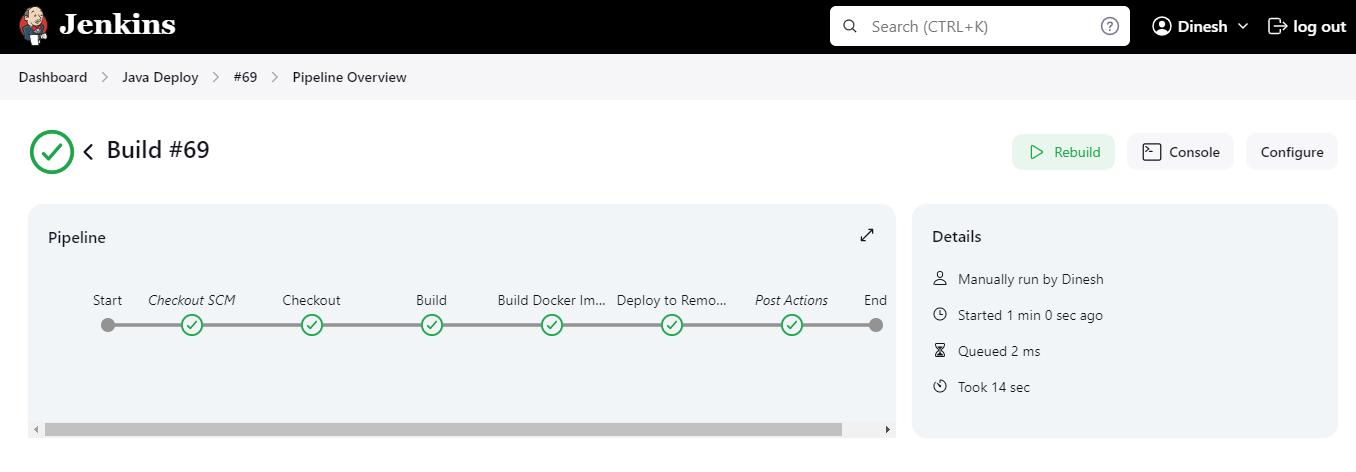
Now, Pipeline is successfully completed
Step 11 : Check the Docker Container Status
Lists all running containers
docker ps

Execute the container
docker exec -it [con.name/id] /bin/bash

Go to /usr/local/tomcat/webapps path & Check your application

Step 12 : Check & Access the Application URL
http://<public ip>:port/context path/

Conclusion
In this blog, we've explored how to configure a CI/CD pipeline using Jenkins, Maven, and Docker to automate the build and deployment of a Java web application.