Installing FTP Server (VSFTPD) on Ubuntu 22.04
Hi there! I'm Dinesh, a passionate Cloud and DevOps enthusiast. I love to dive into the latest new technologies and sharing my journey through blog.
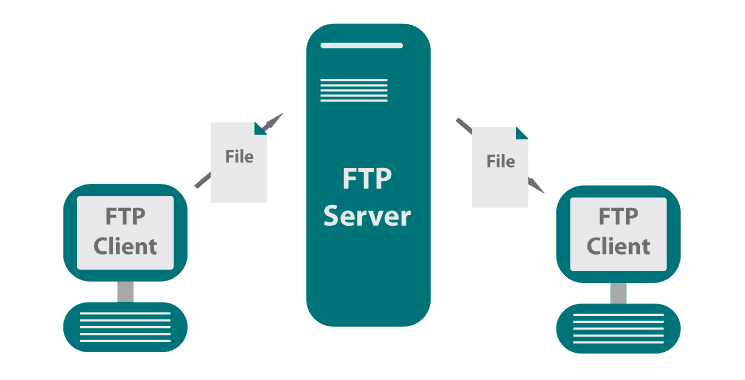
An FTP (File Transfer Protocol) server in Linux is a service that allows users to transfer files between computers over a network. FTP servers are commonly used for uploading and downloading files, and they can be accessed via various FTP client applications.
Key Features of an FTP Server:
File Transfer: Facilitates the upload and download of files between clients and the server.
Authentication: Users can authenticate with a username and password, allowing controlled access to files.
Directory Listing: Users can view and navigate through directories on the server.
File Management: Supports operations like renaming, deleting, and moving files.
Passive and Active Modes: FTP can operate in active or passive mode, affecting how connections are established.
Step 1: Install VSFTPD Server
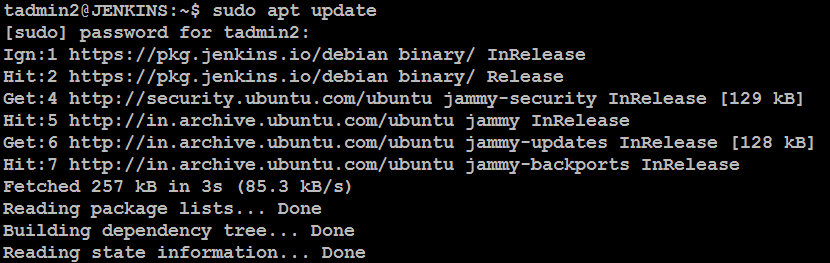
First, open your terminal and execute the following commands to install VSFTPD:
sudo apt update
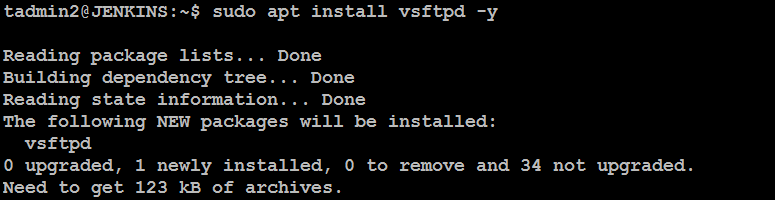
sudo apt install vsftpd -y
Once installed, check the status of the VSFTPD service:
sudo service vsftpd status
This command ensures that the VSFTPD server is running correctly.
Step 2: Configure Firewall
To allow FTP connections, configure your firewall settings. Execute these commands:
sudo ufw allow 20/tcp
sudo ufw allow 21/tcp
sudo ufw allow 40000:50000/tcp
sudo ufw allow 990/tcp

These commands open the necessary ports for FTP communication.
Step 3: Create an FTP User
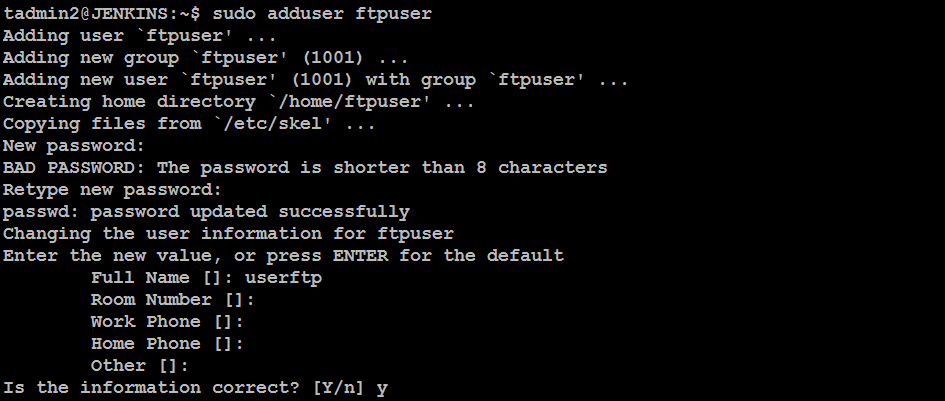
Next, create a dedicated FTP user to manage file uploads and downloads. Run the following commands:
sudo adduser ftpuser
sudo mkdir /home/ftpuser/ftp
sudo chown nobody:nogroup /home/ftpuser/ftp
sudo chmod a-w /home/ftpuser/ftp
sudo mkdir /home/ftpuser/ftp/files
sudo chown ftpuser:ftpuser /home/ftpuser/ftp/files

This setup creates a user directory structure that restricts write permissions for the main FTP directory.
Step 4: Configure VSFTPD
Backup the original configuration file before making changes:
sudo mv /etc/vsftpd.conf /etc/vsftpd.conf.origin

Now, open the VSFTPD configuration file:
sudo nano /etc/vsftpd.conf
Modify or add the following settings to the file:
listen=NO
listen_ipv6=YES
anonymous_enable=NO
local_enable=YES
write_enable=YES
local_umask=022
dirmessage_enable=YES
use_localtime=YES
xferlog_enable=YES
connect_from_port_20=YES
chroot_local_user=YES
secure_chroot_dir=/var/run/vsftpd/empty
pam_service_name=vsftpd
force_dot_files=YES
pasv_min_port=40000
pasv_max_port=50000

user_sub_token=$USER
local_root=/home/$USER/ftp
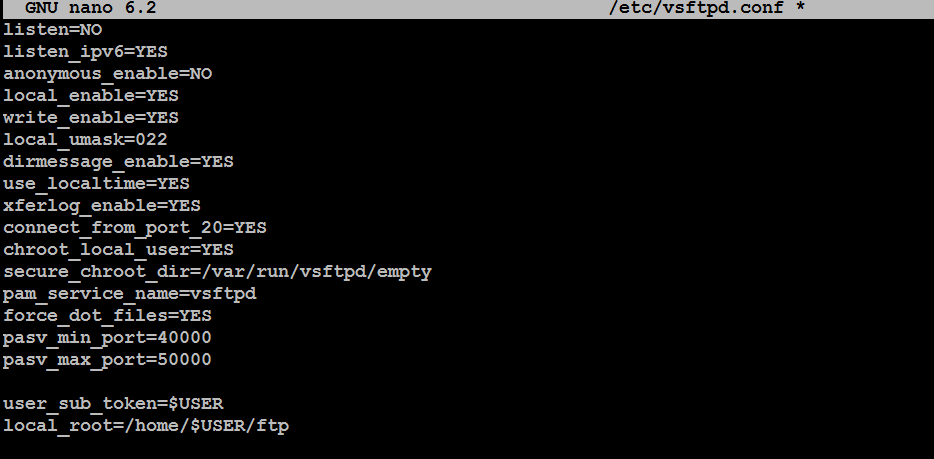
After saving the changes, restart the VSFTPD service to apply the new configuration:
sudo systemctl restart vsftpd.service

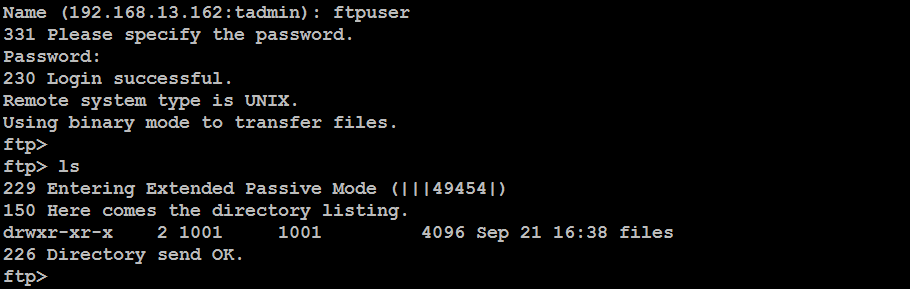
Step 5: Test FTP Connection
Log in to your client machine and run:
ftp ftp-server-ip
Replace ftp-server-ip with your server’s actual IP address. Log in with the ftpuser credentials you created earlier. If you connect successfully, your FTP server is ready for use!
Using WinSCP as a GUI FTP Client
- Open the WinSCP after installation.
Configure the Connection:
In the Login dialog, enter the following details:
File Protocol: Select FTP > Host name: Enter your server’s IP address > Port number: Enter 21 (default FTP port) > User name: Enter the FTP user you created (e.g., ftpuser) > Password: Enter the password for the FTP user
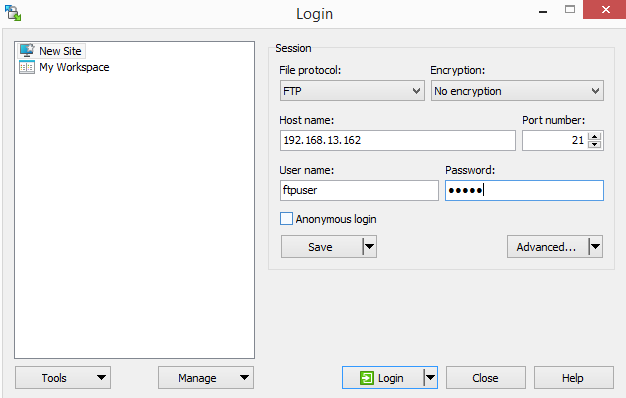
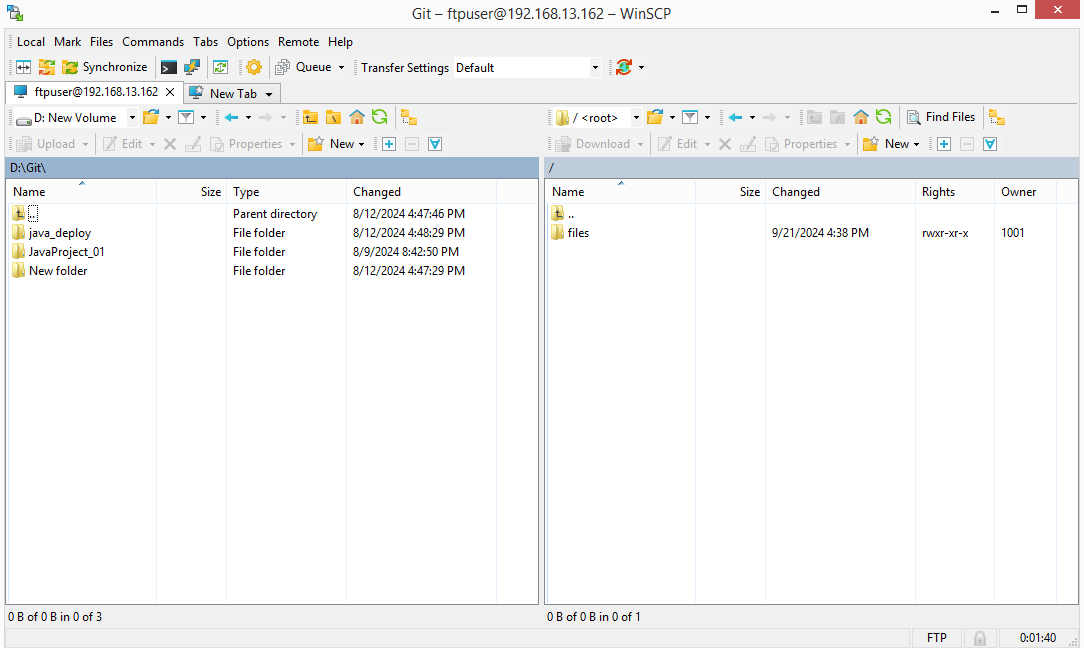
You should now be connected successfully!
Conclusion
Setting up a VSFTPD server on Ubuntu is straightforward and provides a secure method for file transfer. With this guide, you can now manage your FTP server effectively. If you have any questions or comments, feel free to reach out!